How to Configure TDS Mail Settings in Windows 10 Mail App
Former Bendbroadband customers
How to configure TDS Mail Settings in Windows 10 Mail App
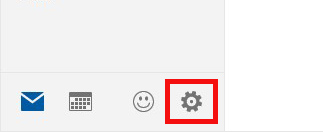
- Open the Mail app in Windows 10 from the Start menu and click the Settings link (the gear icon) in the lower left area of the Mail app.
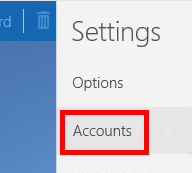
(If this is the first time using the app you can also click the Get Started link that appears in the center, then click Add Account, and skip to step 4.) - The Settings menu will appear on the right side of the app. Click Accounts.
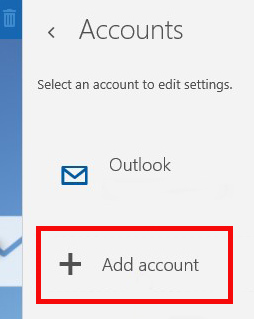
- The Accounts menu now appears on the right side of the app. Click Add Account.
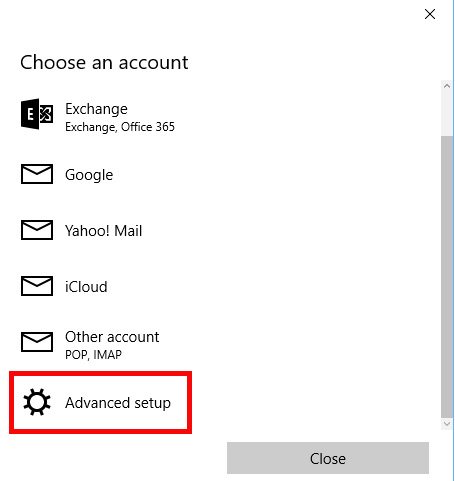
- The Choose an account menu pops up in the middle of the app with a scroll bar. Scroll down and click Advanced Setup; this option is not visible on most computers until you scroll down a little.
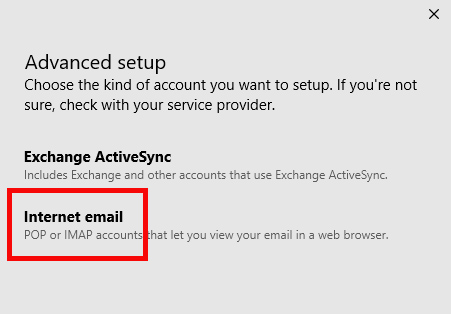
(Do not click Other Account, it will automatically try and then fail to get the settings for TDS mail.) - The Advanced Setup menu appears. Click Internet Email.
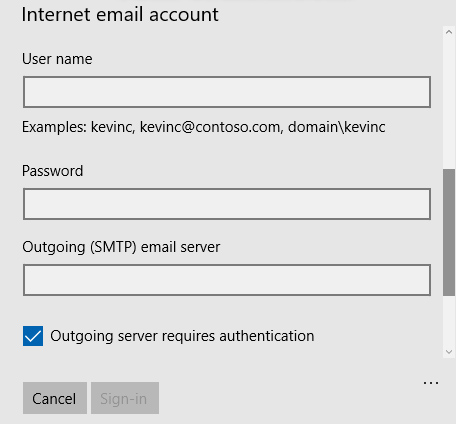
- The Internet Email Account settings window appears with a scroll bar on the right. Add the following settings, scrolling down as needed:
- Account Name: (Enter any name to refer to your TDS email account).
- Your Name: Enter your name as you would like it to appear in the "From:" field of outgoing messages.
- Incoming Email Server: mail.tds.net
- Account type: Select IMAP4 from the drop down menu.
- User name: Your full TDS email address.
- Password: Your TDS email password
- Outgoing (SMTP) email server: mail.tds.net
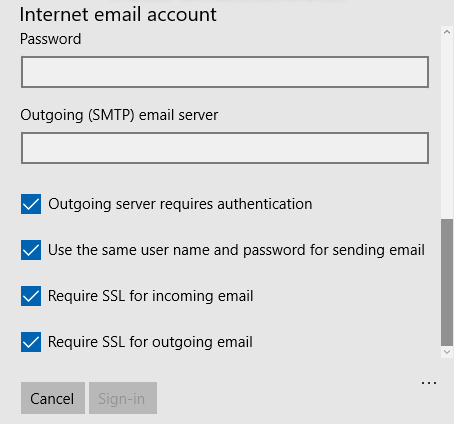
- Outgoing server requires authentication.
- Use the same user name and password for sending mail
- Require SSL for incoming mail.
- Require SSL for outgoing mail.
- Click the Sign-in button. An "All Done!" message appears; click the Done button on the bottom of it. The account will be added to the Accounts list on the left side of the Mail app.
If there are multiple accounts the customer can click the Accounts menu on the upper left of the app to select and see the TDS account or whatever account they currently wish to view.

Former Bendbroadband accounts use the following settings instead of the ones listed below in the step by step instructions.
Incoming server: pop-server.bendbroadband.com
: (IMAP) Port 143 (POP3) Port 110
Outgoing server: smtp-server.bendbroadband.com
: (IMAP or SMTP) Port 25
Secure Authentication: checked yes
or
Optional setting: (IMAP or SMTP) Port 465
Transport Layer Security (TLS)*: checked yes
*On some devices, TLS may not be an option, in which case checking Secure Socket Layer (SSL) may allow TLS
